Thank you Debby!


 Yes!
Yes!


 The Box!
 The Goodies!
 Purple Iris Bulbs
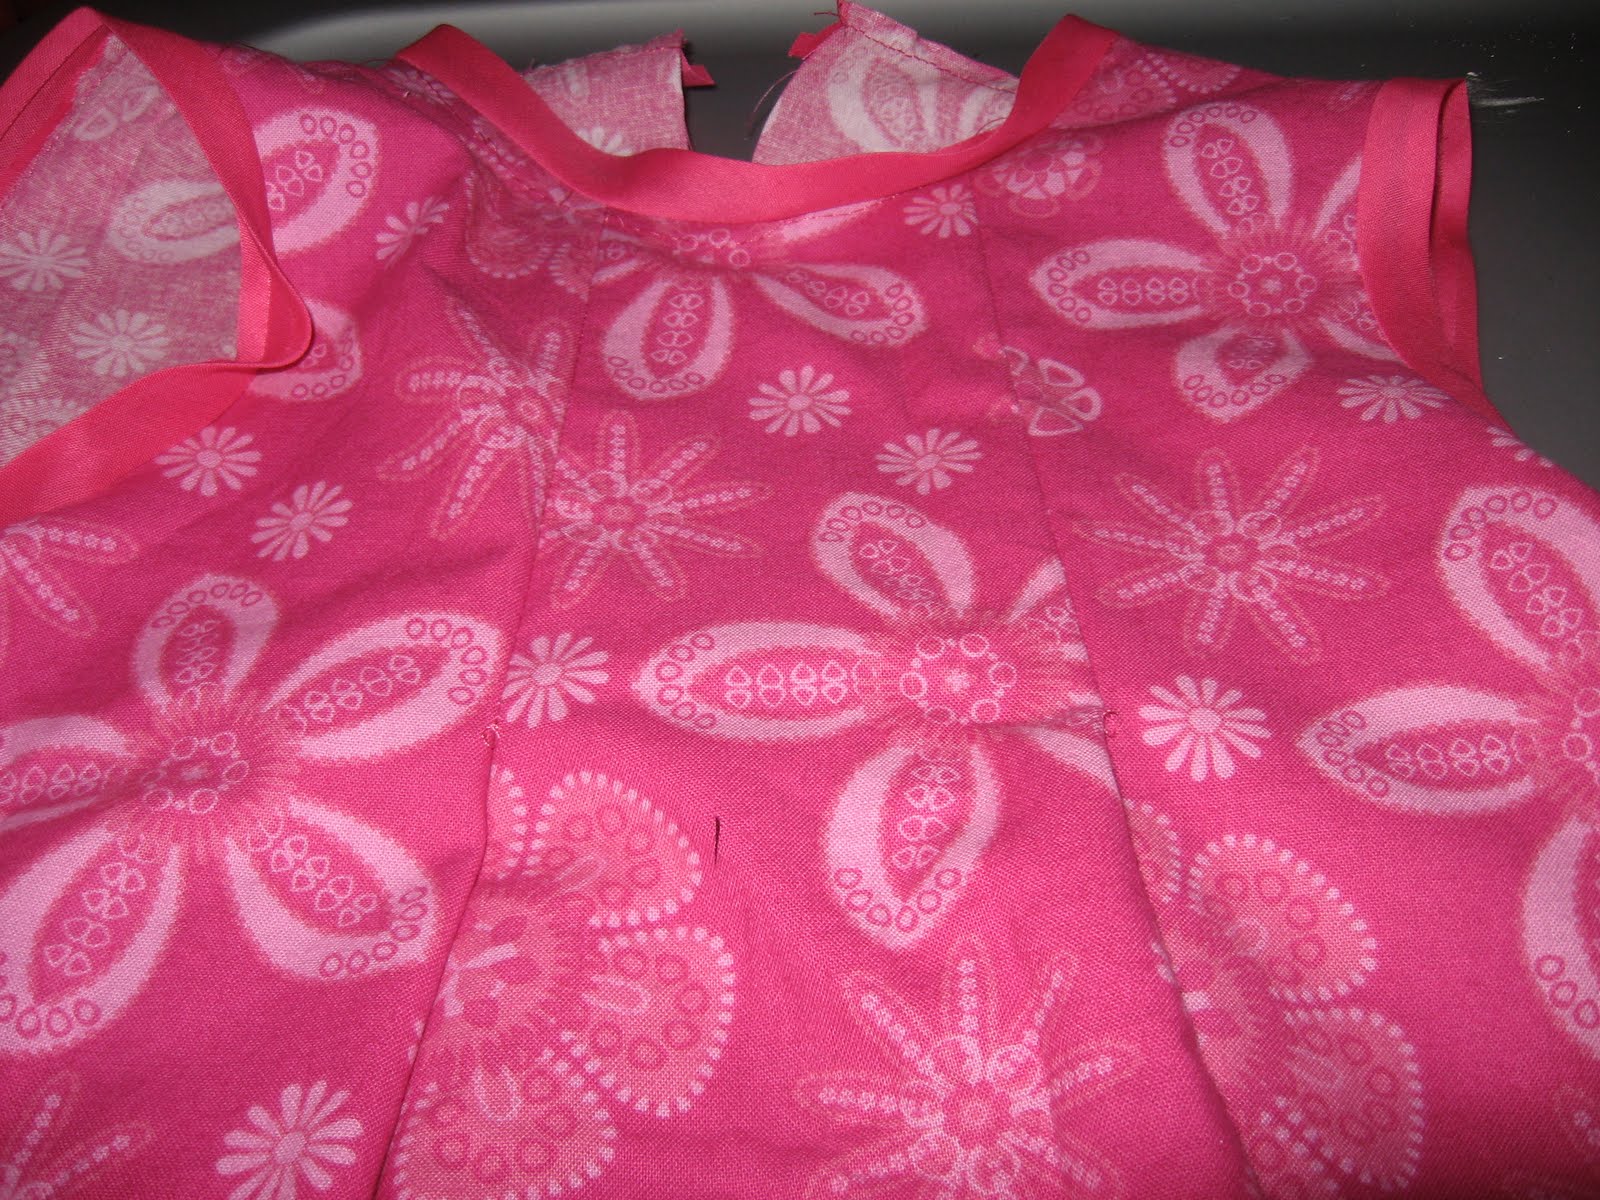
 3 Fat quarters of fabric!
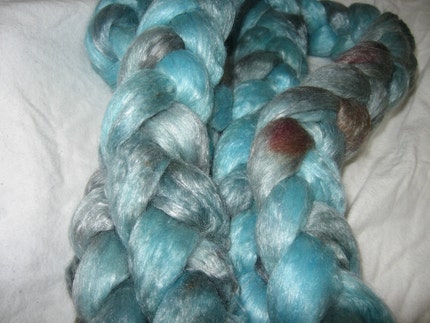
 Manos Silk Blend yarn in PURPLES!
 Local bag
 Welted Fingerless Gloves Pattern to go with the Manos yarn
 Chocolate Covered Sunflower Seeds
 A felted doll pin
 Here they are being pitted so I can get them in the pot for jam making. This was the last bit of them. Deven decided to do these so I could start cooking the first batch. I ended up with 23 cups of pitted plums. Aren't they dark! They were sweet to eat too ;-)
 Here they are! 26 8oz jelly jars full. Plum preserves. No added sugars. I used Stevia to sweeten. They are a little tart. I didn't think the sour skins would make that much of a difference in the flavor but it did. It still tastes great though. Something about doing it yourself :D Now to wash the hard water residue off all the jars and put them all away....


 Now, turn your fabrics so that the zipper is on one side like this and finger press. Then start sewing. You want about an eighth inch seam on the fabric side.
 It will look like this when you hold it up in the air.
 It will look like this. One side has the finished edge the other does not.
 It is now time to fix that. Unzip the bag . Finger press again and sew. Pick the side that is most comfortable for you. Zipper on the left or right. I don't know why this picture flipped. But if you look close the metal bar on the presser foot is "in the ditch". This is a good thing. I moved my needle to the the left notch position. This is a guaranteed straight line :)
 Here we are at the end of the zipper. It's not that bad. Just make sure to keep the rest of the bag material out of the way and to turn the zipper straight :)
 Now I actually forgot about the handle and tab. But found these in my scrap pile. Whew! They were already finished and measure 12 inches by 1 inches-ish. They were probably the same width of the short end of the fabric by 3-4 inches. Then double folded and sewn down both edges. I just cut the other one short so it could be a tab. ;)

 Find the spot you want for your seam on the sides. It isn't always going to be 5/8's or 1/2 inch. I left the selvage on the brown fabric so this time I thought it would be quite a bit. I was wrong... I have had to cut off an inch or more on one side and only a little on the other. It evens out sometime LOL Always backstitch a few time on the zippers/handles, they get a real workout.
 This is really important. PLEASE be careful when you are trimming the extra off! That bunch right there in the middle can be thick depending on the fabric you choose, and if your scissors slip or twist you could really get hurt.... Oh and those dots... I poked my self with a pin. :(
 Here we are all trim and no cutting accidents :) Did I forget to mention to make sure the zipper was open half way before sewing ends shut... I am so sorry if you made it this far. Let me edit that right now!
 This is the magic spot on my machine for making corners. Anywhere else and they come out wonky.
 It's time to make the corners.... I know its the scary part. Here is a front and back picture of the first corner before sewing.
 I line up the corner with that magic spot. Pull back and start sewing.
 This is an aerial view of a corner with the handle end. You don't want it in the way.
 Here I am making sure the triangles are the same size before I start sewing again.
 Here we are. All the corners are done! Almost home free. :)
 Clip the corners off leaving about a quarter inch. If you have pinking shears, even better.
 Tada!! All done. You should feel super! You did a great job finishing this. Hopefully it was easy for you. I had the hardest time figuring out how to do one of these things on my own :D
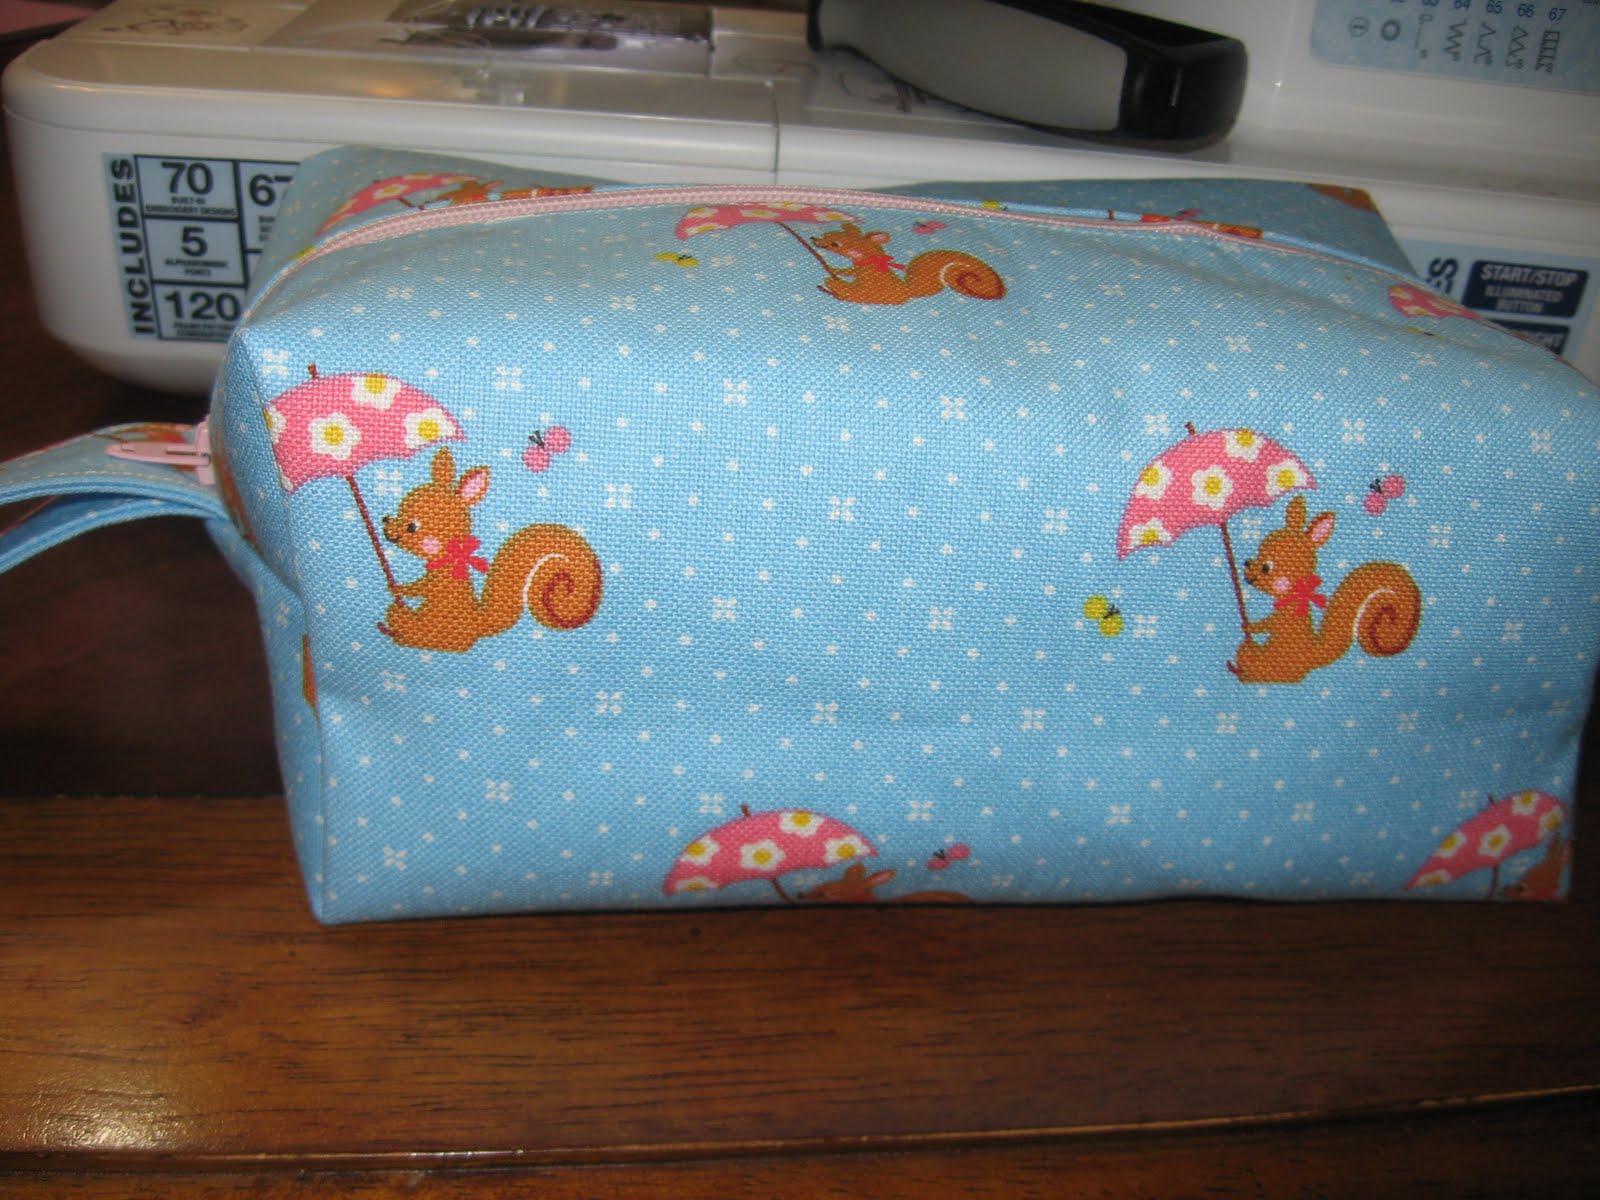


.jpg)
